Sunday, 2 October 2011

World Card Making Day fun!

Ok, so yesterday was World Card Making Day, and I was able to set aside a couple of hours to craft in the evening when my dear husband was out, and my little monkey was in bed. I tell you, I had such a great time! It's the first time in a long time I have sat down and made 4 cards, now admittedly two are very similar, but even so, 3 unique designs is pretty good! I'm going to share one now, and the rest over the coming days.
At the moment I'm loving going back to my CAS roots, and although its sometimes a challenge not to sponge to death my cards, I'm restraining myself!

Here is a card which is for a few challenges. First of all I spotted the sketch over at Card Patterns and knew it was something I'd like to have a go with, and secondly this months Stampendous challenge is to do a CAS Christmas card.
Changito-Oct2011

I searched through my stampendous stamps for something Christmassy, but couldn't find anything, plus I'd already got something in mind for the sketch which used a snowflake stamp.


I embossed my cardstock with my cuttlebug embossing folder snowflakes, then used two types of ribbon and stamped and heat embossed some small silver snowflakes onto some circles I'd die cut. This would be a perfect batch card for Christmas, as it comes together very quickly.
I hope you had as much fun as me for World Card Making Day!

Wednesday, 28 September 2011

Mostly monochromatic and matching envelope!


Good evening, just a quick post to show you a little CAS card I made based on the CASual fridays colour scheme which was 3 shades of one colour, plus brown; and also a matching envelope for the Young Crafters Unite challenge.

This is a simple little thank you card which uses my waltzingmouse teeny trees stamps. My brown is the sentiment, although I think I maybe should have heat embossed that to make it stand out more. The envelope looks quite cream in the photo, but it didn't look that obvious when I was making it, but the light in the dining room isn't great! I was going to do a orange/red autumn colour scheme, but wasn't sure if that counted as one colour, so stuck with green!
I think I'm definitely going to enter the Young Crafters Unite challenge again, as making the envelope match was easy, but it really makes the card seem a little more special!

Sunday, 25 September 2011

Bits and Pieces!


So its been about 2 weeks since I last posted, because I've been SUPER busy!!! I was so disappointed to have to miss the September Waltzingmouse blogwaltz, but due to the combination of a)not celebrating halloween, and b)not having the time to come up with an alternative, I just had to miss it. I'd done every one this year, and it was my aim to do them all, but alas, I won't now!
So last weekend I ran the Great North Run, the worlds Biggest Half marathon. After 7 months, 275miles and  over 45hours of training I felt ready. I had put myself forward following a 10km event in May which I found ok. Let me tell you, a half marathon is NOTHING like 10km! Its more than double, and so training really needed to kick up a notch. Also its a very hilly course, so I had to start doing hill training. I was feeling confident that I may actually be able to run the whole distance without stopping, although originally my target was to merely complete the course!!! The weather was almost perfect on the day with 80% of the time spent running it was raining. I was very pleased to finish in 2hours 17 minutes (I'd set myself a target of 2hrs 30mins) and even more pleased to have raised around £1500 for the Christie Cancer hospital. Before you even think it, I don't plan to do a marathon next, I don't have the time to train!
This weekend we went away as a family to North Wales, and it was the first time we've all been away as a family since my mum died, so it was a bit different, but we had a lovely time. Here's a picture of my monkey riding a mini tractor at The Green Valley Village.

Lastly, I couldn't post without a quick card, and I knocked this up quickly tonight. Part was already done and waiting in my card box, but I needed a birthday card for a friend for tomorrow, and I just haven't done any craft in weeks due to all my fundraising and training.
Its Waltzingmouse teeny trees stamps for the trees and bird, and the sentiment is Banana Frog. The background paper came free with a magazine last year, and I can't recall who its made by.

Wednesday, 14 September 2011

Cake Bake

Well today has been a busy baking day. Tomorrow I'm holding a cake sale at work to raise some extra money for my Half Marathon. I'm running to raise money for the Christie Cancer Hospital and every penny will be very well spent. Its coming up for 1 year since my mum died, and she was really well cared for at The Christie before she died. I have enlisted some friends to bake as well, but I have made Parsnip and Maple Syrup cake, Coconut sponge cake, banana loaf and chocolate cupcakes. Hopefully we can make £100 if we sell for £1 a slice. I'm also having a Sweepcake, where people try and guess how long it will take me to run the 13.1 miles, and the winner gets a cake of their choice! If you would like to sponsor me, you can do it easily  at www.justgiving.com/Bethan-Lycett-runs-again
Onto the cakes. I haven't yet filled the Parsnip cake as it needs a cream cheese filling, so I'll have to do that in the morning, but here's a look at the coconut cake

and here are the best cupcakes in the world (not my description, that's the recipe!).


 I almost broke my electric whisk while making the cupcake frosting, but my wonderful husband fixed it for me :)

Birthday tree - More WMSC#64

[WMS-64%255B3%255D.jpg]


Here I have another card made from the walztingmouse sketch challenge #64.
I wanted to make a card using my beautiful tree stamps and with my waltzingmouse polka dot stamp, which is one of my favourite stamps at the moment! I stamped the polka dots onto white card with antique linen distress inks. I then sponged the edges and layered onto the card base. I stamped my tree image onto some card using my forest moss distress ink and sponged the edges as well. I layered this onto some dark green card and found some lovely grosgrain ribbon to match. I stamped the sentiment from my new penny black set onto a small banner shape I hand cut and then sponged this too. (I can't NOT sponge distress inks!!!)
I'm not sure now whether I should have put a dark green layer behind the polka dots too, but hey ho, it's done now!! Hope you like it!

Monday, 12 September 2011

Thank you trees WMSC#64 and Less is More challenge

Well I've been so busy, I haven't had chance to blog, but I wanted to sneak on and post this for a couple of challenges.
I am in the final stages of my training for this weekends Great North Run half marathon, and have been doing all sorts of fundraising. At the weekend I held a coffee and cake event, and this week I'm doing something similar at school. I have made so many thank you cards for all the people who have helped me, and will at some point post them, but for the moment I'll just post a quick thank you which I am submitting to this weeks Waltzingmouse sketch challenge, and also the Less is more Seeing Double challenge. I completely CASE'd this card from Margaret over here.

I have been really inspired by some CAS cards and especially Susan over at Simplicity, and it took alot of restraint not to put more on this card, but I really like it. The stamps are all Waltzingmouse Teeny trees.

Sunday, 4 September 2011

Paper roses


I have seen a few times recently people making their own rose embellishments and thought it was something I'd like to have a go at. As far as my 'style' goes, I'm not very flowery, so I haven't really had a need for any roses, but I'm planning to make a few thank you cards and thought they would work well. I started by drawing a circle on a piece of paper (I drew around a tape roll!) and then cut out. I then cut into the circle in a spiral pattern. I have drawn what it would look like, but I just do it free hand with my scissors. It doesn't have to be neat, it probably makes it a better if its a bit uneven!

You then start from the edge and roll in until you have rolled the whole thing, you loosen off the rose towards the end and then stick the whole thing onto the little circular tab you have left at the end.
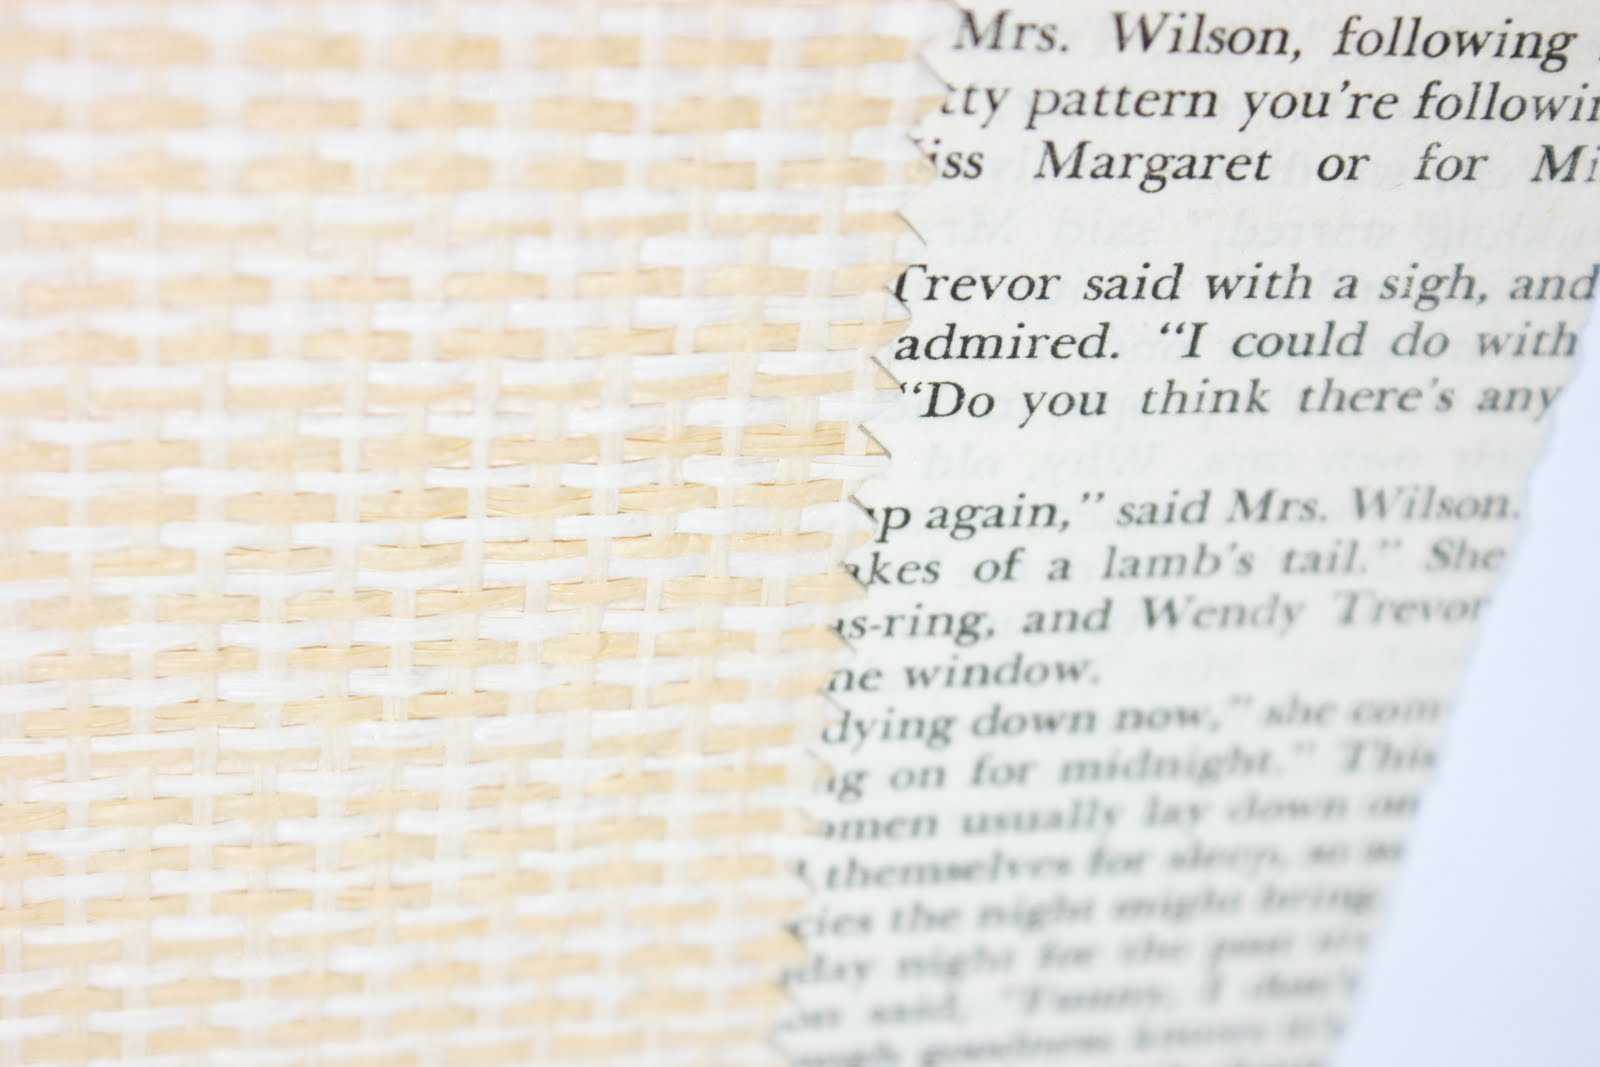
I started off using some raffia effect paper, and when my hubby got home he said "did you use book paper for that?".
 Now he wears glasses, but I'm not sure why he thought it was book paper, but it did make me think what a good idea it was. So I made a few of those too! In fact, when you get started you can't stop! I have loads now!

Wednesday, 31 August 2011

Tree names Bookmark


So today I bring you a bookmark I have made for my cousins little boy. He loves trees, and even knows some of the latin names! I love it when kids become interested in stuff and want to learn, guess that's the teacher in me!
So I thought I would make him a little bookmark, and it also ties in with two bookmark/tag challenges.
Here's the sketch from waltzingmouse sketch challenge
Totally stampalicious also have a challenge to make a bookmark.

I started by going online and finding the latin names of some common UK trees. I imported them into my Digital Scrapbook Artist and played around for a while and created this background paper.

I also printed off a list of the trees to go on the back of the bookmark so he can learn them if he wants to.

After distressing the edges of the paper I layered it onto some green card and cut into a tag/bookmark shape.
I wanted to ass his name to the front, so made a background using my teeny trees leaf stamp, then stamped over the top with versamark and clear embossing powder using my Banana frog Budmo Jiggler alphabet stamps. I then carefully cut around each letter and inked the edges.


I wanted some little tree images too and so used teeny trees stamps and cut them out individually.
 I finally punch a hole in the top and added some deep green grosgrain ribbon. I hope he likes it. If it had been a card I would have added more dimension to the little trees and his name, but as its for a bookmark I wanted it to be pretty flat!

Saturday, 27 August 2011

Thank you flower card

Here is a card I made using my newest stamps which I won over at Helens blog. I was so excited when I won them, stamping is my absolute favourite thing in card making! [Picture%2520363%255B5%255D.jpg]
I decided to try and make a flower card, as its a little out of my comfort zone. So I stamped the vase in forest moss distress ink and then stamped the flower twice in tea dye distress ink. I cut out the flower and vase and then decided to make a background using my polka dot stamp from the waltzingmouse Offbeat background set in Antique linen distress ink. I also stamped the dotty line stamp in antique linen and sponged the edges.

I layered up the two flower parts and then added a small button with some twine knotted through it.
I finally layered up all the parts onto some craft paper and stamped the Thank You sentiment. Unfortunately I think I stamped it too quickly, as you can see up close that the ink has slightly run where the polka dots are, so the distress ink must not have been dry.
Next time I'll wait longer, or use archival ink!

Thursday, 25 August 2011

Rocket birthday card Challenge Card


Today I have a card which is for two different challenges. Its for the waltzingmouse sketch challenge #61 and also the new monthly challenge over at Young Crafters Unite.
The sketch we had to work from is shown here:
[WMS61-card%255B3%255D.jpg]


 and the challenge for Young crafters unite was to colour a stamped image.

As soon as I saw the sketch I thought of a moon with a rocket, as I have an amazing set from Banana Frog called Retro Space which I have been looking for an opportunity to use.
So I stamped the main rocket onto some white card and coloured with my promarkers and cut out.
The moon is just a spellbinders circle die and then I used Antique linen distress ink to give it some shading and depth. I decided I wanted a little trail coming from the rocket, so I used my trusty waltzingmouse teeny trees stamps, stamped in versamark and then used my brand new cosmic shimmers on it!
Here you can also see the background paper which is just navy paper stamped with versamark stars.


 I wanted to add some stars that were colour matched to the rocket, and so using a tip from my friend Kirsty I just used my promarkers, coloured in some white card and then just cut the stars from the matching colours using my cuttlebug star dies!
The last few finishing touches were to use some green card, punched with a Dovecraft star punch all the way along, which I placed over some matching blue ribbon. I then ripped a star ikea napkin to layer onto. I also stamped the Happy birthday sentiment (Hero Arts) onto some plain white card, and because it looked a little plain I stamped some extra teeny trees stars over the top and added cosmic shimmers. I hope you like my take on both challenges!

Wednesday, 17 August 2011

Waltzingmouse blog waltz - Tea/Coffee


Welcome to this months blog waltz, where the theme is Tea or coffee. My two main bits of inspiration for this card were my Tea dye distress ink, and also a lovely set of stamps I have which include a tray of tea!
I started by stamping a lovely Lila Bug stamp by Kirsty Wiseman and coloured with promarkers, and then created a random leaf pattern using my teeny trees waltzingmouse stamps. I stamped my Lila bug again over the pattern so I could paper piece the dress onto my main Lila. I also stamped a tea table from another Kirsty Wiseman set called Come on Over, coloured with promarkers, and cut off the table legs to make a tray.

Next I took some doilies, for two of them I cut off the outer part to create a smaller version of the doily, and then inked up one with Forest moss distress ink, and the other with Tea Dye distress ink. I then layered them all up.

The background is the polka dot stamp from Waltzingmouse Offbeat Backgrounds, stamped onto cream card with the tea dye distress ink. I layered this onto some kraft paper, and made a little wavy edge banner to go across the front. The sentiment is from the Come on Over stamp set.

Here is Lila holding out her tea tray! I sponged gently around her dress with more forest moss.

I hope you like my tea inspired card! 

Monday, 15 August 2011

Pink Fairy birthday card


Today I'm showing a cute little card I made for a friends little girl. I have a few little girly stamps I picked up very cheaply in our local bargain shop and was looking to use them on a card for the first time. Having been inspired to use labels by the recent waltzingmouse sketch challenge I decided to go for a mini label! 
I stamped one of the fairies onto a mini label in memento black ink. I then waited while it dried (the mini labels are glossy and smudge easy, so I had to be patient!). I then coloured the fairy with promarkers and then used a Quickie glue pen and some super fine glitter to give her some bling.

I took some pink cardstock and using a Dovecraft star edge punch I punched out a line of stars. I then cut some shiny metallic paper to go behind this and cut a wavy edge into it. I also die cut a circle with a wavy edge in the pink cardstock. I have a little stash of ready to use sentiment circles printed off from a Kirsty Wiseman CD, and so I took the circle and punched a candle into it. I put a little scrap of the metallic paper behind the punched candle and then layered it up. Finally I used some background paper which I printed off from my Digital Scrapbook Artist (can't remember which digikit, sorry!). I will definitely use this fairy stamp again as its super cute when coloured!